Mixing audio for video – The equalizer in practice
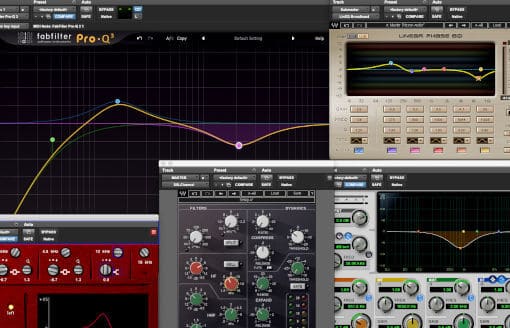
The equalizer is one of the most versatile sound editing tools available. It’s basically a volume knob, but one that only increases or decreases certain frequencies. Not familiar with an EQ yet? Learn all about it in the tutorial ‘Equalizers Explained’. Below we will have a look at how to EQ voice-over and dialogue tracks.

Every voice is different. And every microphone you use to record that voice sounds different as well. So how you make a voice sound better with an equalizer is first and foremost a matter of knowing exactly what you want. And unfortunately, it’s not easy to explain all that in just a few lines. You have to learn that by just doing it a lot.
But a starting point can help. It’s not perfect, but it can help you on your way!
– Put a low-cut filter on it from 75Hz, with a slope of 6 or 12dB/octave.
– Around 100 – 120 Hz you can sometimes boost a bit (1-2 dB) to give some warmth to the voice. Use a Q-factor of 2.5 as a starting point.
– Usually there is this ‘boxy’ sound around 400 Hz. You can reduce this a bit, for example by 2 or 3 dB. Set the Q-factor to 2.5 as a starting point.
– Between 2kHz and 10kHz you can boost a bit, with a somewhat wider Q-factor. Usually I choose around 6kHz as the center frequency to boost (with about 4 dB). The Q-factor can be set nice and wide, set it to 0.7 to start with.
– Do you want some more ‘openness’ in the voice? Then try a shelving EQ that boosts a few dB above 4 kHz. But beware of sibilance, all ‘S’ sounds can sometimes quickly become too sharp.
And then it’s time to listen! Does this setting work for your voice recording? If you don’t have a lot of experience, it might be hard to judge. What can help is to listen to productions where you like the sound of the voice-over. And try to approach that sound. Even if you don’t succeed, it will help you to learn to EQ.
And always keep it realistic: trying to make a very young voice-over sound like a deep, heavy Hollywood trailer voice isn’t going to work!

The importance of filtering: Clean up your mix!
Why would you remove everything below 70 Hz? Well, a voice-over has no useful frequencies there. If you filter everything below 70Hz, it won’t affect the quality of the voice. But usually there is some ‘clutter’ below the 70 Hz you don’t want. For example, loud ‘plosive’ sounds when the voice says the letters P and B. Or a low hum in the recording caused by the electrical wiring.
All sorts of stuff you obviously do not need in your mix. So filter it out, it makes your mix a lot cleaner, and that makes it sound more open and defined in the end.

